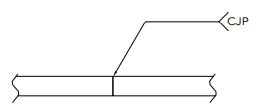
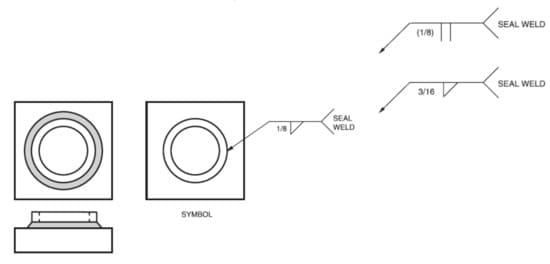
In this post, we’re going to shed some light on an often misunderstood term that’s commonly used in engineering drawings – the abbreviation ‘TYP‘. If you’re an engineer, architect, designer, or someone who often interacts with technical drawings, you’ve likely come across this term. So, what does ‘TYP’ mean on a drawing? Let’s find it out!
What is ‘TYP’?
In engineering drawings, the abbreviation ‘TYP’ stands for ‘Typical‘. This term is used to indicate that certain elements or features are consistently repeated in the design. When you see ‘TYP’ or ‘TYPICAL’ next to a dimension, feature, or note, it signifies that this detail is applicable wherever the described situation occurs.
Why is ‘TYP’ Used?
The use of ‘TYP’ is a way to simplify complex designs and reduce redundancy in technical drawings. Instead of repeatedly indicating the same element or feature, engineers use ‘TYP’ to denote that the same dimension, detail, or specification applies to other similar elements within the drawing.
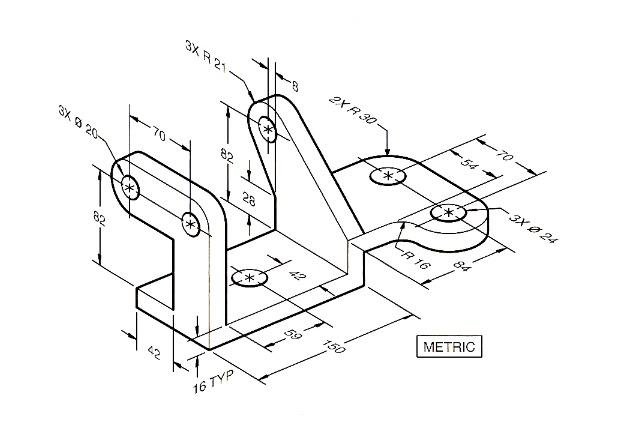
For instance, if an engineer designs a structure with multiple identical beams, they might label one beam’s dimensions and add ‘TYP’ to indicate that all the beams share these measurements. This streamlines the drawing and makes it easier to read and understand, reducing the chance of errors or misinterpretations.
How to Interpret ‘TYP’
Interpreting ‘TYP’ correctly is crucial to understanding the design intent. While it simplifies drawings, it can also lead to confusion if not used or understood properly. When you see ‘TYP’ in a drawing, always ask yourself, “Where else could this specification apply?”
Consider the context of the design. If there’s a ‘TYP’ label next to a bolt dimension, it likely means all similar bolts in the assembly share this dimension. If ‘TYP’ is next to a wall thickness, it applies to all walls of the same type in the design. It’s all about identifying patterns and understanding the designer’s intent.
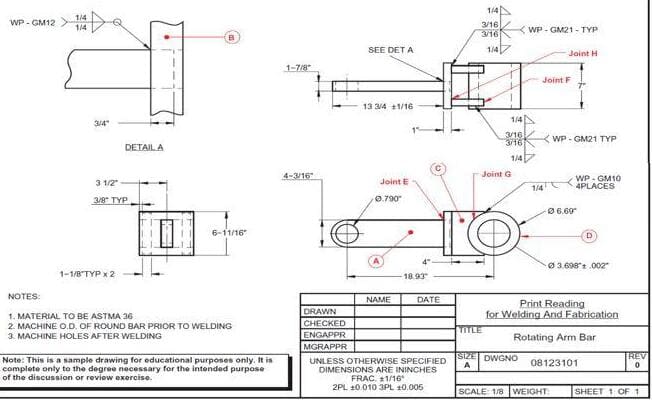
Welding Symbols with Typical TYP
To avoid repeating the same welding symbol multiple times on a drawing, a single symbol can be designated as “TYPICAL” (commonly abbreviated as “TYP”). The arrow of this symbol is pointed towards a representative joint.
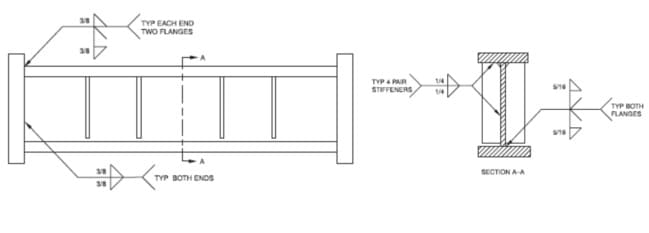
In simpler words, if you have many identical welds in a design, you don’t have to draw the same welding symbol for each one. Instead, you can use one symbol, call it “TYPICAL” or “TYP”, and point the arrow to one weld that is like all the others. This way, everyone understands that the same instructions apply to all similar welds in the design.
Examples
The term “TYP” is a standard abbreviation frequently seen in architectural drawings. This shorthand denotes that a specific element or detail is standard or typical. Its use allows designers to bypass the need for redrawing identical elements, thus conserving both time and drawing space.
Take, for instance, a scenario where a door with specified dimensions and swing direction appears in various places throughout a structure. Instead of repeatedly detailing the same door, the architect might mark one instance as “TYP”. This indicates that all other doors of the same kind should match the dimension and swing direction of the labelled example.
The Importance of ‘TYP’
The use of ‘TYP’ in engineering drawings is a testament to the importance of effective communication in technical fields. ‘TYP’ is more than just an abbreviation; it’s a tool that aids designers in conveying their ideas clearly and concisely. It also helps those involved in the manufacturing or construction process to interpret the drawings correctly, leading to more efficient and accurate realization of the design.
However, it’s essential to avoid overuse or inappropriate use of ‘TYP’. It shouldn’t be used as a catch-all term where clear and specific instructions are needed. Always ensure that its application does not lead to ambiguity.
Wrapping Up
The term ‘TYP’, short for ‘Typical’, is a small yet significant element in engineering drawings. It plays a crucial role in expressing repeated features or elements in a design, making the drawing more understandable and less cluttered. However, like any tool, it should be used wisely and appropriately to avoid misinterpretation.
We hope this article has provided a better understanding of the term ‘TYP’. Keep an eye out for it the next time you’re working with a technical drawing, and use this newfound knowledge to improve your understanding and interpretation of designs!
